Blog
Beginner Guide to Using a 3D Mouse for CAD Navigation
Jul
Using a 3D mouse for CAD navigation feels strange at first because the device asks your hand to control space instead of a pointer. A normal mouse moves a cursor to a specific place. A 3D mouse applies pressure to the view: push, pull, tilt, twist, slide, and rotate. The faster you accept that difference, the easier the first week becomes.
The goal for a beginner is not speed. It is predictable movement. Start slowly, use simple models, and build a habit of gentle pressure. Most early frustration comes from over-controlling the cap, moving the view too quickly, or trying to learn every possible gesture at once.
Set up a simple practice environment
Begin with a part you already understand: a cube with holes, a small bracket, a simple enclosure, or a tutorial model. Avoid a huge assembly on day one. Dense geometry hides whether the problem is your hand movement, the model center, software performance, or view settings.
Place the 3D mouse where your non-dominant hand can reach it without stretching. Keep the regular mouse in your dominant hand for selection. If you are right-handed, the 3D mouse usually belongs on the left side of the keyboard. If you are left-handed, reverse the arrangement. The desk-position article on 3D mouse setup for small workstations gives more placement ideas.
Learn the five basic movements first
Start with pan, zoom, orbit, tilt, and roll. Do not worry about advanced buttons or custom commands yet. Push gently forward and back to move closer or farther. Slide left and right to pan. Twist or tilt to rotate depending on your software behavior. If the direction feels backwards, look for axis inversion settings before assuming the device is wrong.
Practice each movement separately for a few minutes. Then combine only two at a time: zoom while orbiting, pan while zooming, or rotate slightly while keeping a feature centered. Beginners often try to perform a dramatic showroom-style spin immediately. That is entertaining, but it does not teach useful CAD control. Useful control is small, slow, and repeatable.
Use a first-week routine
On day one, spend ten minutes moving around a simple part without editing anything. Your only job is to keep the model visible and return to a useful view when you drift. On day two or three, inspect specific features: one hole, one edge, one fillet, one hidden face. On day four or five, combine navigation with real selection using the normal mouse.
By the end of the first week, try a real task you already know how to do. Do not learn a new CAD command and a new device at the same time. If the task is familiar, you can judge whether the 3D mouse is helping the view or just adding confusion. For expectations during that period, see the 3D mouse learning curve guide.
Adjust sensitivity before blaming your hand
Many beginners use settings that are too fast. High sensitivity makes tiny pressure changes produce big movement, which creates the feeling that the model is floating away. Start slower than you think you need. Increase speed later after your hand learns the center point and pressure range.
Also check whether rotation center, dominant axis, horizon lock, or object mode settings exist in your software. Different programs describe these features differently. The names matter less than the behavior: the model should move in a way that helps inspection, not in a way that fights your expectation.
Keep commands on the keyboard at first
It is tempting to assign many commands to device buttons immediately. Resist that urge. In the first week, the navigation hand should learn navigation. Keep sketch, dimension, extrude, measure, and view-reset commands on the keyboard or regular mouse until the base movement feels natural.
This keeps the workflow clean: the 3D mouse controls the view, the regular mouse selects geometry, and the keyboard handles commands. Later, you can experiment with shortcuts if your device and software support them. The article on whether a 3D mouse can replace keyboard shortcuts explains why this boundary matters.
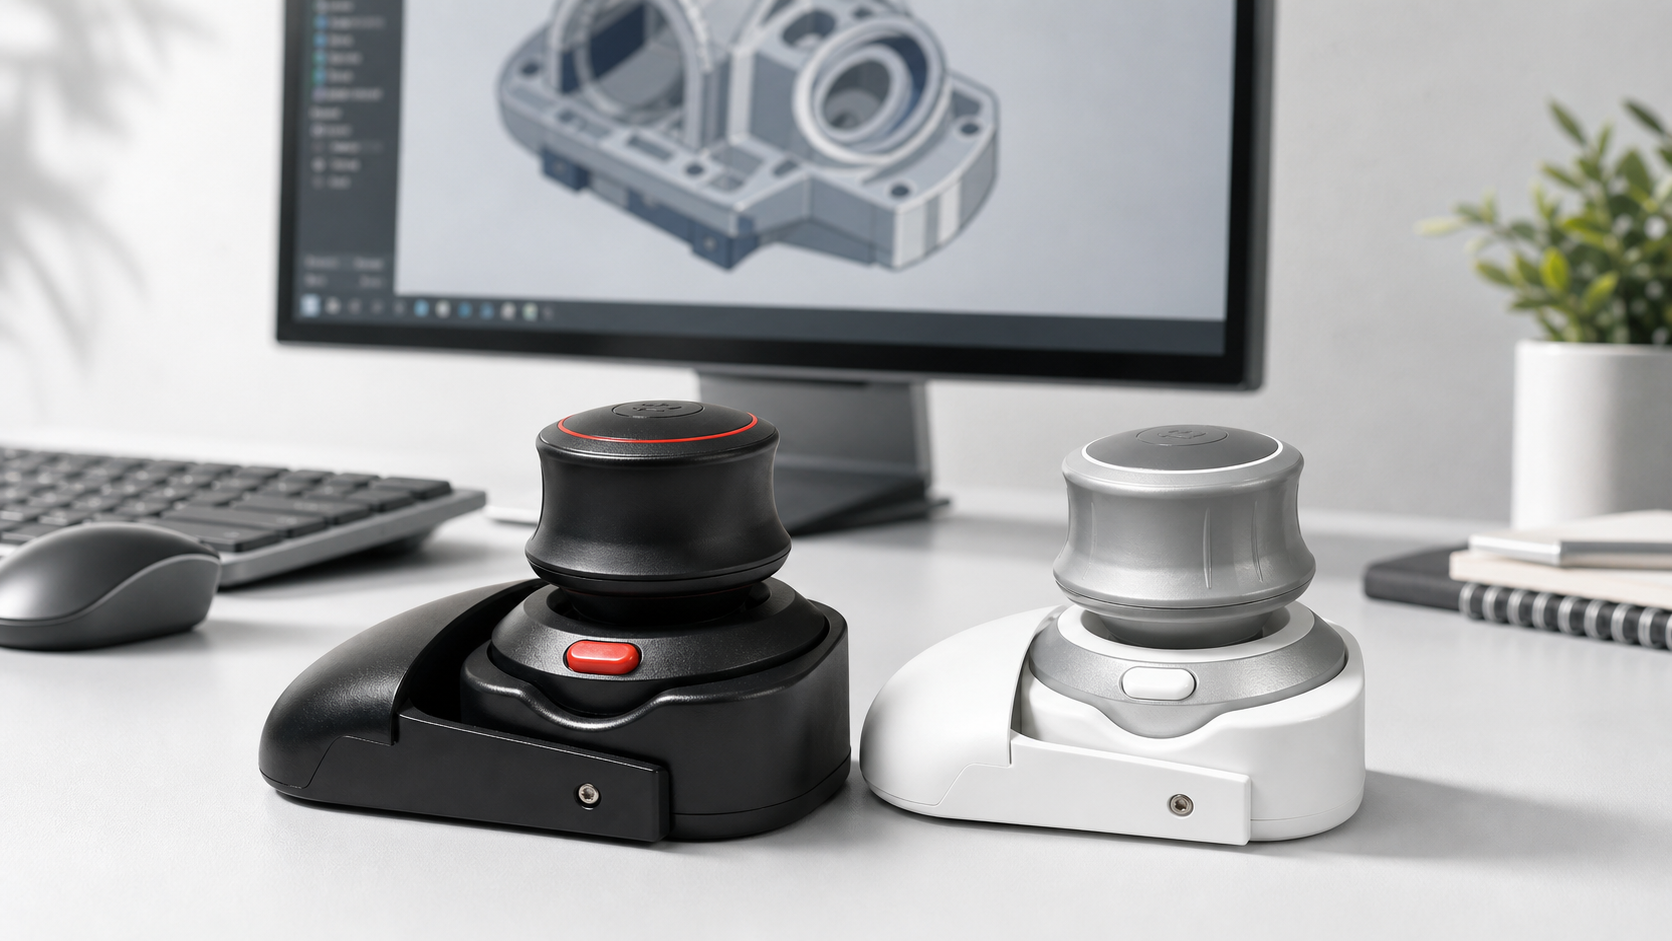
Where the Wireless 3D CAD Mouse fits
The Wireless 3D CAD Mouse is a compact Bluetooth controller, so beginners should treat it as a practice device for controlled navigation rather than a magic speed upgrade. Pair it, slow the movement down, and test it on one known project before making a final judgment.
If you use a laptop, classroom desk, or small workspace, wireless placement can help because the device can sit where your hand naturally rests. Comfort matters more than the impressive look of the setup.
FAQ
Why does my model move too fast?
Sensitivity is probably too high, or you are pressing too hard. Lower the speed, practice with lighter pressure, and test one movement at a time.
Should I use it with my dominant hand?
Usually no. Most users keep the regular mouse in the dominant hand and place the 3D mouse under the other hand for navigation.
What should I practice first?
Practice slow orbit around a simple part, then zoom toward a feature, pan to keep it centered, and return to a standard view.
How long before it feels natural?
Many users need several short sessions. Expect the first day to feel awkward and judge the device after a week of calm practice.
Beginner takeaway
A 3D mouse becomes useful when you stop treating it like a regular mouse. Start with slow movement, simple models, clear hand roles, and modest settings. Once the view becomes predictable, you can decide whether dedicated 3D navigation deserves a permanent place in your CAD setup.