Blog
The 3D Mouse Learning Curve: What to Expect in the First Week
Jul
The 3D mouse learning curve is real, but it is usually shorter and less dramatic than beginners expect. The first day can feel clumsy because your hand is learning pressure, direction, and center position at the same time. By the end of the first week, most users have a clear sense of whether dedicated navigation fits their CAD or 3D modeling workflow.
The mistake is judging the device too early. A 3D mouse is not a normal mouse with a different shape. It is a separate navigation controller, so the first few sessions should be treated as practice rather than a productivity test.
Day one: expect awkward movement
On the first day, the model may move too far, rotate in a direction you did not expect, or drift away from the feature you wanted to inspect. That does not mean you bought the wrong tool. It usually means your hand is using too much force or the sensitivity is too high.
Keep the session short. Open a simple part and practice slow movement for ten to fifteen minutes. Do not try to complete a deadline project, learn new CAD commands, and learn the device in the same hour. If you need a basic orientation first, read the beginner guide to using a 3D mouse for CAD navigation.
Day two and three: separate the motions
The second stage is separating movement types. Practice zoom without orbiting. Practice pan without zooming. Practice a small rotation around one corner of a part. This may feel too simple, but it teaches your hand where the neutral center is and how much pressure produces useful motion.
At this point, many users discover that settings matter more than willpower. Lower the speed, check axis direction, and look for options that control rotation center or dominant movement. If the device supports several profiles, keep the first profile conservative. You can always make it faster later.
Day four and five: combine navigation with selection
Once individual movements feel less chaotic, combine the 3D mouse with the regular mouse. Use the 3D mouse to position the part, then use the regular mouse to select a face, edge, sketch, or measurement point. This is where the two-handed workflow begins to make sense.
Do not try to replace every shortcut. Keep commands on the keyboard and use the 3D mouse for view movement. The fastest way to slow yourself down is to overload the new device with buttons, macros, and expectations before basic navigation is stable. For the bigger workflow picture, see how a 3D mouse fits into a two-handed CAD workflow.
Day six and seven: test a real project
Near the end of the first week, choose a project you already know. A bracket, enclosure, furniture part, small assembly, or printable object is enough. Inspect features, check clearances, move between views, and perform a few normal edits. Compare the session with how the same work feels using only the regular mouse.
Look for qualitative signals. Did you lose the model less often? Did review feel calmer? Did your regular mouse hand stay closer to the geometry you were editing? Did presentations or screenshots feel smoother? These signals matter more than a stopwatch during the first week.
Common mistakes that make the curve longer
The first mistake is using dramatic movements. CAD navigation usually needs small view changes, not fast spins. The second mistake is practicing on a model that is too complex. The third is placing the device too far from the hand, which creates tension and poor control. The fourth is blaming the device before checking software settings.
Another mistake is buying a 3D mouse before having a real use case. If you only want the desk to look more professional, the learning curve may feel annoying. If you already have repeated model-review work, the same practice feels purposeful. The hobby CAD buying guide can help decide whether the timing is right.
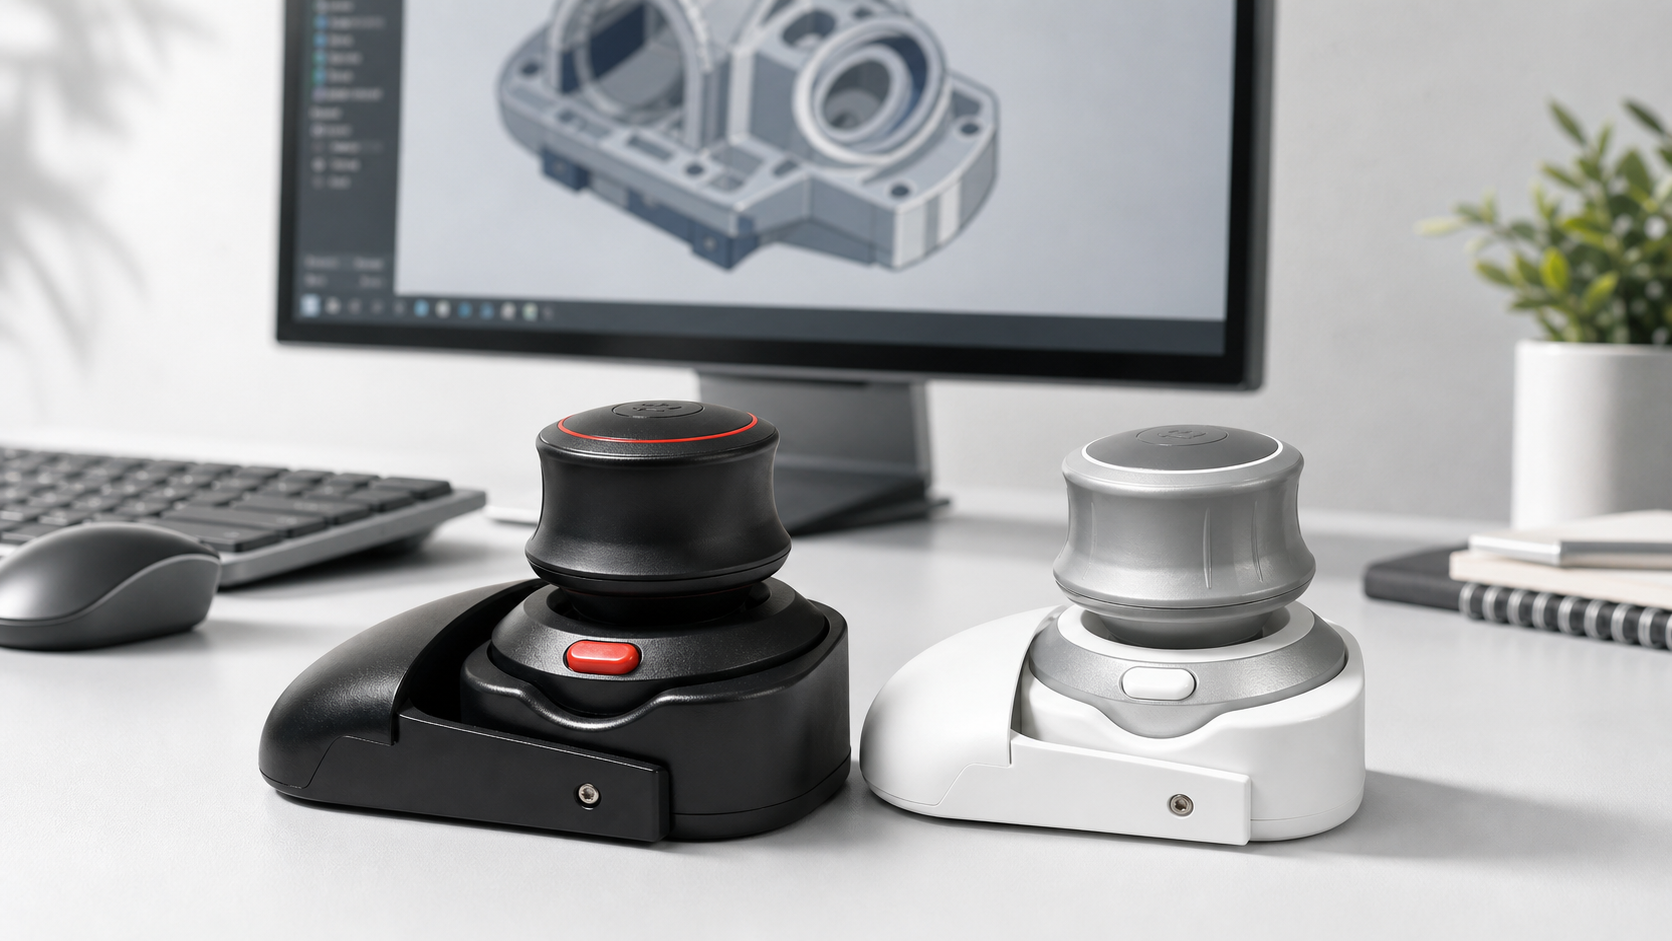
How to evaluate the Wireless 3D CAD Mouse
The Wireless 3D CAD Mouse should be evaluated with real navigation tasks, not by spinning an empty model for a few minutes. Pair it, place it comfortably, lower the speed, and use it with a project that has features worth inspecting.
Because it is compact and wireless, the setup can be cleaner on laptop desks or smaller workstations. That does not remove the need for practice. Comfort, software behavior, and gentle pressure still decide whether the learning curve feels reasonable.
FAQ
Is it normal to feel slower at first?
Yes. The first sessions often feel slower because your hand is learning a new control style. Judge progress after several short sessions, not after the first hour.
Should I turn sensitivity up to learn faster?
No. Start with lower sensitivity. Faster settings can come later, after you can keep the model centered and move predictably.
What if the axes feel backwards?
Check axis inversion or navigation direction settings in your software or device driver. Many users prefer different directions, so this is a normal adjustment.
When should I decide whether to keep using it?
Use it for one week on real projects. If navigation still feels distracting after slow practice and setting adjustments, it may not fit your workflow.
First-week verdict
The first week with a 3D mouse is about building control, not proving speed. Keep the movements small, the settings conservative, and the practice projects familiar. If the device reduces view-management friction by the end of the week, it has earned more testing. If it only adds mental load, waiting is a fair decision.