Blog
Best 3D Mouse Settings for Smooth CAD Navigation
Jul
The best 3D mouse settings for CAD navigation are usually conservative at first: slower speed, predictable zoom direction, comfortable rotation, and no unnecessary button complexity. A 3D mouse should make the model easier to inspect, not turn every small hand movement into a dramatic camera move.
There is no single perfect profile for every CAD user because software, model size, desk setup, and hand control all differ. A good settings process starts with a safe baseline, tests one variable at a time, and then saves separate profiles for precision work, large assemblies, and presentation review.
Start with lower sensitivity
Sensitivity controls how much view movement you get from a small amount of pressure. Beginners often set it too high because fast movement feels impressive for a few seconds. In real CAD work, high sensitivity can make it hard to center a hole, inspect a fillet, or rotate around a small detail without overshooting.
Begin slower than you think you need. Open a simple part and practice moving toward one feature, orbiting slightly, and returning to a standard view. If the motion feels calm but too slow, increase it a little. If the model drifts away or spins past the target, slow it down again. For first-week expectations, see the 3D mouse learning curve guide.
Check axis direction before building habits
Axis direction decides whether pushing, pulling, twisting, or tilting moves the view in the direction your brain expects. If zoom feels backwards, or rotation feels like the model is fighting you, look for axis inversion settings. Do this early. Practicing for a week with directions you dislike makes the device harder to evaluate.
Different users prefer different mental models. Some think they are moving the camera. Others think they are holding and turning the model. Neither is wrong. The best setting is the one that makes your real CAD work predictable. If terminology is confusing, review pan, orbit, zoom, roll, and fly definitions.
Use dead zone carefully
Dead zone is the small neutral range where tiny hand pressure does not move the view. Too little dead zone can create drift when your hand is resting on the device. Too much dead zone can make the 3D mouse feel unresponsive because you must press harder before anything happens.
For CAD inspection, a small but real dead zone is often helpful. Your hand can rest without nudging the model, and deliberate pressure still produces movement. Test this by placing your hand on the cap while looking at a fixed feature. If the model slowly moves when you are not trying to navigate, add a little dead zone or reduce sensitivity.
Create profiles for different model sizes
A tiny mechanical part and a large assembly should not always use the same feel. Precision part inspection often benefits from slower orbit and zoom. Large assemblies may need slightly faster pan and zoom so you can move between areas without dragging the session. Presentation work may need smoother, slower transitions to avoid making viewers dizzy.
Do not create too many profiles at the start. Begin with one precision profile and one review profile. After a few projects, you will know whether another setup is truly needed. The guide on navigating large CAD assemblies with a 3D mouse explains how assembly work changes the settings problem.
Keep button mapping minimal
Buttons can be useful, but too many custom commands early in the process create confusion. First, make navigation predictable. Then consider assigning only high-value actions such as fit view, standard view, view reset, or a frequently used measure command. Avoid turning the device into a second keyboard before your hand understands movement.
If you already use keyboard shortcuts well, keep them. A 3D mouse should reduce view friction, not force you to rebuild every command habit. The two-handed setup described in the CAD workflow guide is a better foundation than button overload.
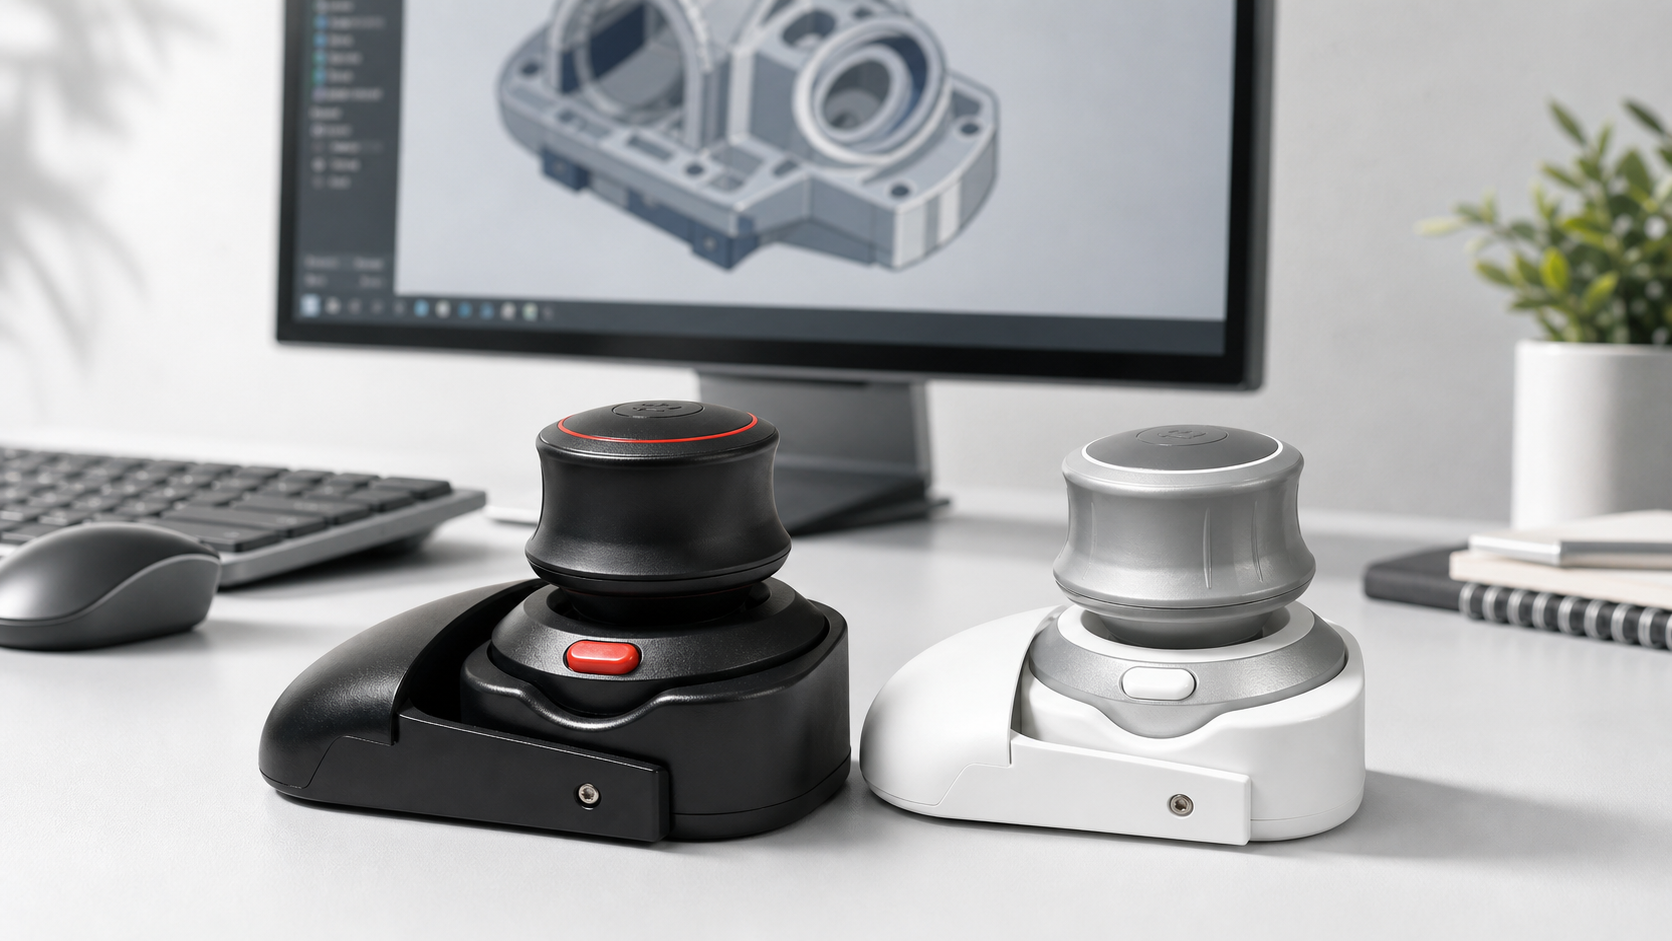
How to test the Wireless 3D CAD Mouse settings
When evaluating the Wireless 3D CAD Mouse, test settings with a real model. Use a part with holes, rounded edges, interior faces, or assembly relationships. Move slowly, adjust one setting, and repeat the same inspection path.
Save the settings that make the model feel stable. If movement becomes jumpy, laggy, or disorienting, check Bluetooth stability, software profile, sensitivity, and axis direction before blaming the hardware. For broader troubleshooting, keep the 3D mouse troubleshooting checklist nearby.
FAQ
What sensitivity should I start with?
Start low enough that you can orbit a small part without overshooting. Increase gradually only after movement feels predictable.
Should zoom direction match scroll wheel direction?
It should match your expectation, not anyone else’s rule. If pushing forward feels like moving into the model, keep it. If it feels backwards, invert it.
Do I need different settings for every CAD program?
Maybe. Start with one baseline and adjust only when a specific program behaves differently enough to need its own profile.
Are button shortcuts important?
They are secondary. Fit view and reset view can be useful, but movement control matters more than complex button mapping.
Settings takeaway
The best 3D mouse settings are the ones that make CAD navigation calm, repeatable, and easy to recover from. Slow the device down, fix direction issues early, add a modest dead zone, and keep profiles simple until real projects show what needs to change.