Blog
3D Mouse Workflow for Rapid Prototyping Reviews
Jul
Rapid prototyping reviews are where small CAD oversights become physical problems. A wall is too thin, a screw boss is hard to print, a clearance is missing, an overhang needs support, or an export uses the wrong orientation. A 3D mouse can help by making pre-prototype model inspection smoother and more deliberate.
The best workflow is a final design walkaround before export. Move through the model slowly, check the features most likely to fail, and document any question before sending the file to a printer, machine shop, supplier, or internal prototype build. The review should feel like a preflight check, not a last-second glance.
Start with the prototype purpose
Not every prototype needs the same review. A visual form model needs surface, proportion, and presentation checks. A fit-check prototype needs mating faces, clearances, fastener access, and assembly order. A functional prototype needs load paths, wall thickness, moving part clearance, and material assumptions.
State the prototype purpose before navigating. That prevents the review from becoming a vague model spin. If the prototype is for fit, inspect interfaces first. If it is for visual approval, inspect silhouette and user-facing surfaces first. If it is for function, spend more time around load paths, moving parts, and features likely to break.
Check wall thickness and fragile areas
Use slow zoom and orbit to inspect thin walls, ribs, clips, tabs, small bosses, and narrow bridges. These areas often look acceptable from one angle but fail from another. If your CAD or slicer has thickness analysis, use it. The 3D mouse helps position the view, but analysis tools provide the measurable warning.
For 3D printing projects, inspect the model from the likely print orientation and from the assembly orientation. They are not always the same. The article on 3D mouse checks for 3D printing designs goes deeper on print-specific review.
Review clearances and mating features
Prototype surprises often happen at interfaces. Holes are too tight, slots are hard to reach, clips cannot flex, or two printed parts collide. Use section views, transparency, or hide tools to inspect these areas. Move slowly around the interface and pause where the clearance is smallest.
If the prototype is part of a larger assembly, review it with neighboring parts visible. A single part may look correct by itself and still fail when placed in context. The large assembly guide at navigating large CAD assemblies with a 3D mouse can help here.
Use the 3D mouse for export confidence
Before exporting STL, STEP, or another prototype file, make one deliberate pass around the model. Confirm orientation, scale, visible bodies, suppressed features, fillets, holes, and any last-minute changes. If the file goes to someone else, capture screenshots or saved views that show the intended result.
This is especially useful when multiple people are involved. A designer may export, a technician may print, and an engineer may review fit. Clear visual evidence reduces confusion. A 3D mouse helps create those views quickly without rushing through the inspection.
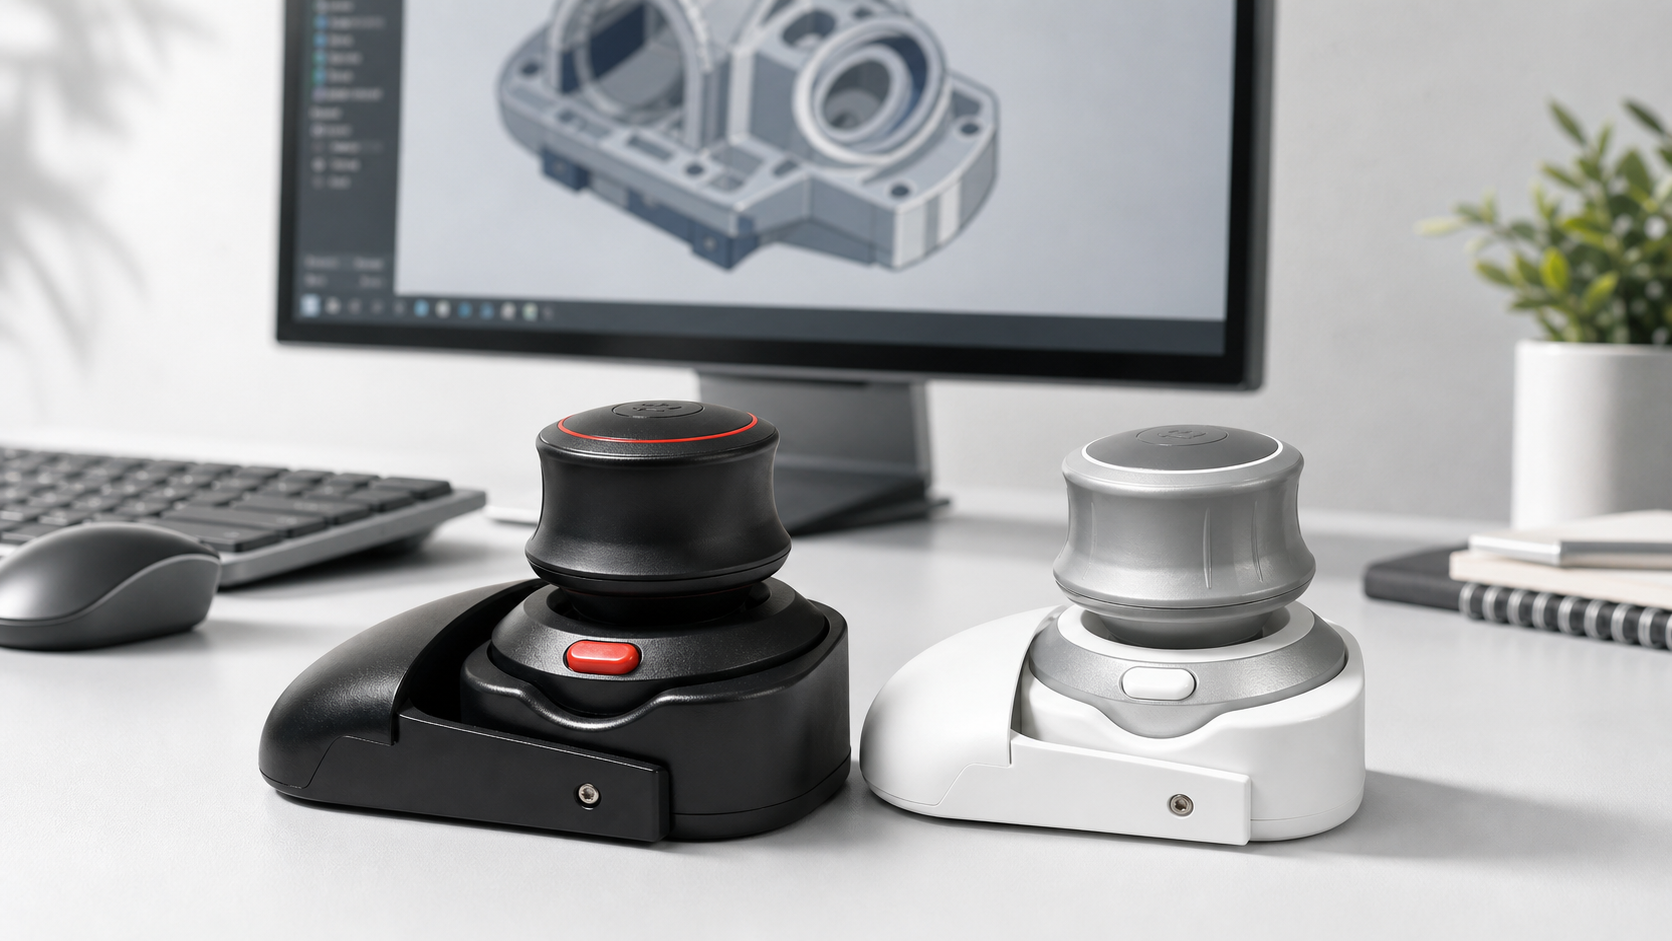
Where the Wireless 3D CAD Mouse fits
The Wireless 3D CAD Mouse can serve as a compact inspection controller during prototype review. Use it to move around the model while the regular mouse selects, measures, sections, or captures screenshots.
It is most useful when prototype review is frequent. If you only export simple files occasionally, normal CAD navigation may be enough. If you review parts every week, a dedicated navigation hand can make the final check feel more controlled. The value is strongest when one missed detail could waste material, shipping time, or a build slot.
Prototype review checklist
- Define whether the prototype is visual, fit-check, or functional.
- Inspect thin walls, ribs, clips, bosses, and fragile details.
- Check mating faces, clearances, and tool access.
- Review print or manufacturing orientation before export.
- Capture screenshots or saved views for handoff.
FAQ
Can a 3D mouse prevent bad prototypes?
It can help you inspect more carefully, but it does not replace thickness checks, slicer review, tolerance planning, or engineering validation.
What should I check before exporting STL?
Check scale, visible bodies, orientation, wall thickness, clearances, overhangs, holes, and whether the model represents the intended version.
Is this useful for CNC or supplier prototypes too?
Yes. The same visual review helps with machining access, mating faces, hole patterns, and supplier communication, though the manufacturing checks differ.
Should I review the model alone or in assembly?
Both. Inspect the part alone for feature quality, then inspect it in assembly context for fit, clearance, and access.
Prototype review takeaway
A 3D mouse supports rapid prototyping reviews by making the final model walkaround easier to control. Define the prototype purpose, inspect risk areas, verify export assumptions, and capture evidence before the design becomes physical. That final review habit is often cheaper than discovering a geometry issue after the first physical part is made.