Blog
3D Mouse Sensitivity Settings for Precision Modeling
Jul
Precision modeling is where 3D mouse sensitivity matters most. A controller that feels exciting in a large scene can feel impossible when you are inspecting a tiny fillet, aligning a bracket, or checking the inside of a tight assembly. The goal is not maximum speed. The goal is predictable motion at the scale of the model.
Good settings let you start, slow, stop, and reverse movement without fighting the view. If your first session feels wild, do not assume the device is unusable. Most new users need to reduce speed and build a small routine before the controller starts to feel natural.
Start slower than you think
For CAD and small-object modeling, begin with a low sensitivity setting. Move the cap only a little and watch whether the view responds smoothly. If you can orbit around a small feature without overshooting, you can always increase speed later.
A common mistake is testing with dramatic motions. That makes the controller look powerful but teaches poor control. Use light pressure. Try to stop at a hole, a seam, a corner, or an edge. Precision comes from small movements repeated consistently.
Separate inspection speed from presentation speed
One sensitivity level may not fit every task. Inspection usually needs slower motion. Presentation, walkthroughs, or Google Earth style movement can use more speed because the viewer is following a broader path.
Write down two profiles even if your software does not save formal presets: one for careful modeling and one for showing a design. This habit prevents constant guessing. If you often switch software, read how to choose a 3D mouse for CAD, Blender, and Google Earth and test each workflow separately.
Test every axis one at a time
Before tuning all settings together, test each axis by itself. Push forward and back, move left and right, twist for rotation, and lift or press if your controller supports vertical motion. Watch for one direction that feels too fast or mentally reversed.
If the problem is only one axis, do not lower every setting. Adjust the specific direction if your software allows it. When software does not offer detailed control, slow the overall speed until the most difficult movement becomes manageable.
Use real model scale
A sensitivity setting chosen on a large sample model may fail on jewelry, electronics housings, dental models, or small mechanical features. Test at the scale you actually build. Zoom close, inspect a detail, then return to the full model.
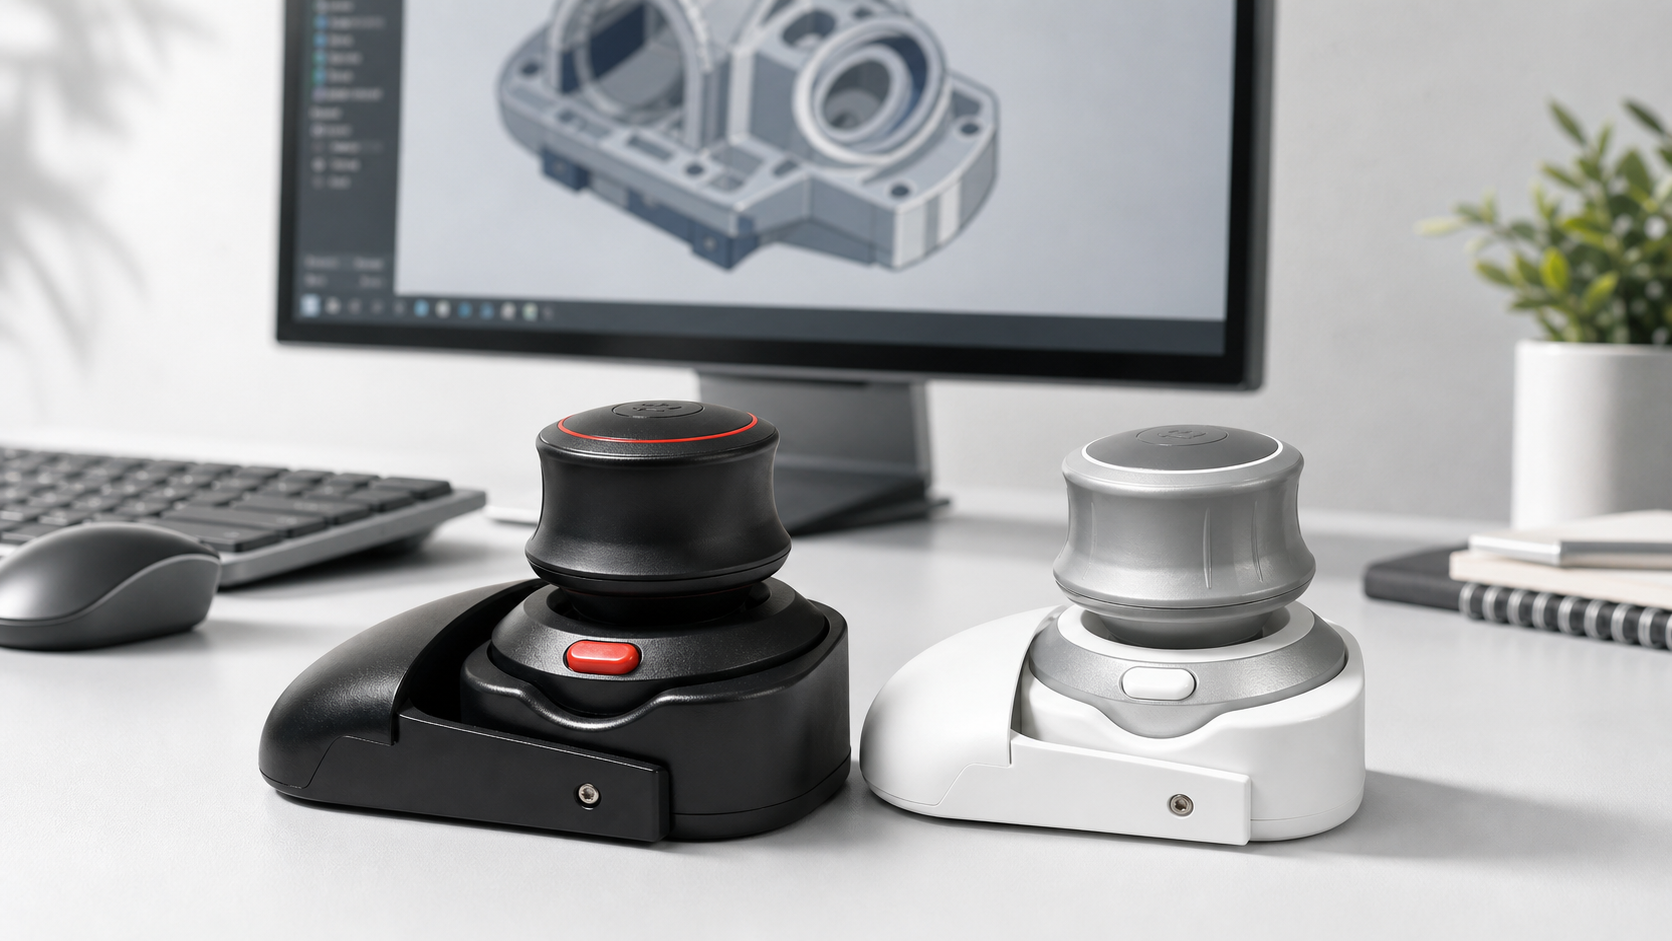
The Wireless 3D CAD Mouse is a compact Bluetooth controller for CAD and 3D modeling workflows. Its value in precision work depends on patient tuning, light hand pressure, and software behavior on your own computer.
FAQ
What sensitivity should beginners use?
Start low. Increase only after you can stop accurately on small features.
Why does the view keep overshooting?
The setting may be too fast, your hand pressure may be too strong, or the model scale may require slower movement.
Should large assemblies use the same setting?
Not always. Large assemblies often tolerate faster motion than small detail inspection.
Do settings transfer between apps?
They may feel different across CAD, Blender, browser tools, and map software, so test each app directly.
Bottom line
The best sensitivity setting is the one that lets you move deliberately. Slow control wins for precision modeling. Once the device feels calm around small details, faster presentation settings become much easier to trust.