Blog
3D Mouse for Product Photography and Render Planning
Jul
Product rendering starts before the render engine. You need to choose angles, understand the form, decide which details matter, and prepare views that tell the right story. A 3D mouse can help during that planning stage by making camera exploration smoother.
This does not replace lighting, materials, composition, or rendering skill. It simply helps you move through the model while deciding what the render brief should include.
Explore camera angles faster
When planning product views, you often test front three-quarter, top detail, side profile, user perspective, and close-up angles. A 3D mouse can make that exploration feel more natural because small view changes are easy to try.
The benefit is not only speed. It is continuity. As you move around the product, you may notice a better silhouette, a clearer feature angle, or a distracting surface that needs adjustment before rendering.
Connect inspection to the render brief
Good render planning asks what the image must prove. Is it showing size, material, controls, assembly, texture, color, or use context? Navigating the model helps you choose views that answer those questions.
For example, an enclosure may need a port close-up, a top view for button layout, and a three-quarter hero angle. A mechanical product may need a view that explains clearance or modular structure.
This review can also reveal missing model work before the render stage. If a seam, bevel, label, or underside detail looks weak from the best camera angle, fix the model first instead of hiding it later.
Save reference views
Do not rely on memory. When you find a useful angle, save a named camera, screenshot, or reference note. Capture why the view matters: hero image, detail callout, scale view, instruction step, or comparison angle.
If you also present models to clients, see how to present a CAD model with a 3D mouse. The same planned movement can become planned render views.
Keep those references with the render brief. A short folder of saved views prevents the final artist, teammate, or future you from guessing what the product image was supposed to communicate.
Use slow movement for close details
Render planning often includes close inspection of surfaces, seams, buttons, fasteners, and texture areas. Lower sensitivity helps because tiny camera changes can affect composition. Do not use the same speed for broad exploration and close-up planning.
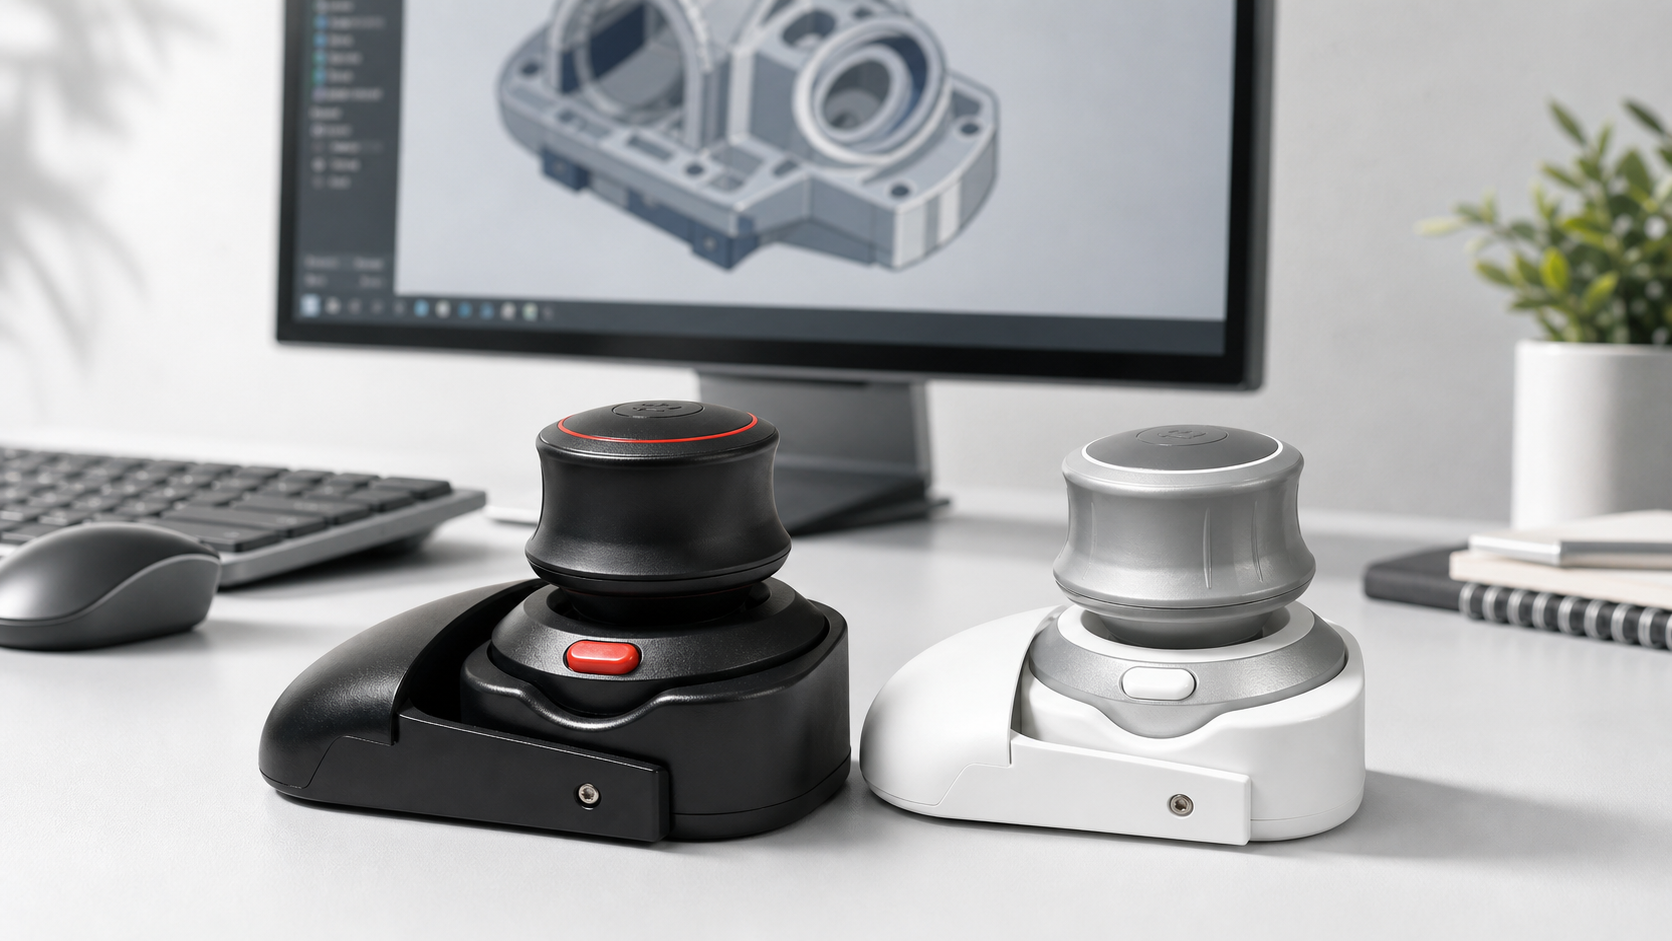
The Wireless 3D CAD Mouse can support render planning when you use it as a navigation aid beside your modeling and rendering tools. Check behavior in the software where you prepare views.
FAQ
Is a 3D mouse useful for product rendering?
It is useful during planning, camera exploration, and model inspection before final rendering.
Does it improve render quality by itself?
No. Render quality still depends on modeling, materials, lighting, composition, and output settings.
What views should I save?
Hero angle, detail close-up, scale view, functional feature view, and any angle needed for instructions.
Should I use high sensitivity?
Use moderate speed for exploration and lower speed for close composition decisions.
Bottom line
A 3D mouse helps render planning by making camera exploration more fluid. Use it to find angles, inspect details, and save reference views before the render work begins.