Blog
3D Mouse for CAD Tutors and Online Course Creators
Jul
CAD tutors and online course creators have a different problem from solo modelers. They are not only moving through a model; they are helping someone else understand the model. A 3D mouse can help when smoother camera movement makes lessons easier to follow.
The device will not fix unclear teaching. It works best when the lesson already has a plan: where the viewer should look, what feature matters, and how each camera move supports the explanation.
Smoother demonstrations reduce confusion
Students can get lost when the view jumps suddenly, spins too fast, or changes direction without context. A 3D mouse can help create smoother movement from full model to feature detail, then back to the whole object.
This is useful for teaching assemblies, part inspection, sketch-to-feature transitions, and spatial ideas such as clearance, symmetry, wall thickness, or component relationships.
The strongest lesson moments are usually the ones where a learner asks, “Where is that feature in the whole part?” Smooth navigation lets you answer visually instead of jumping between disconnected saved views.
Plan camera movements before recording
For recorded lessons, decide the camera path before hitting record. Start from a known view, move to the feature, pause, explain, and return to context. That structure keeps the viewer oriented.
Practice the movement once without talking. If the view path feels awkward in silence, it will feel worse while explaining. The presentation ideas in presenting a CAD model with a 3D mouse apply directly to lessons.
Screen-share settings matter
During live teaching, slow navigation is usually better than dramatic motion. Video compression can make fast viewport movement hard to watch. Lower sensitivity, avoid constant spinning, and pause after each movement so learners can catch up.
Also check app focus before the lesson. A controller that works in your CAD app may appear unresponsive if the wrong window is active during screen share.
For recorded content, make a quick test clip and watch it back. If the model movement feels too fast to follow, lower the speed before recording the real lesson.
Keep the normal teaching tools
A 3D mouse should sit beside annotations, keyboard shortcuts, the regular mouse, and clear verbal explanation. Use it for spatial movement, not every action. Selection, sketching, editing dimensions, and highlighting features may still be better with the regular mouse.
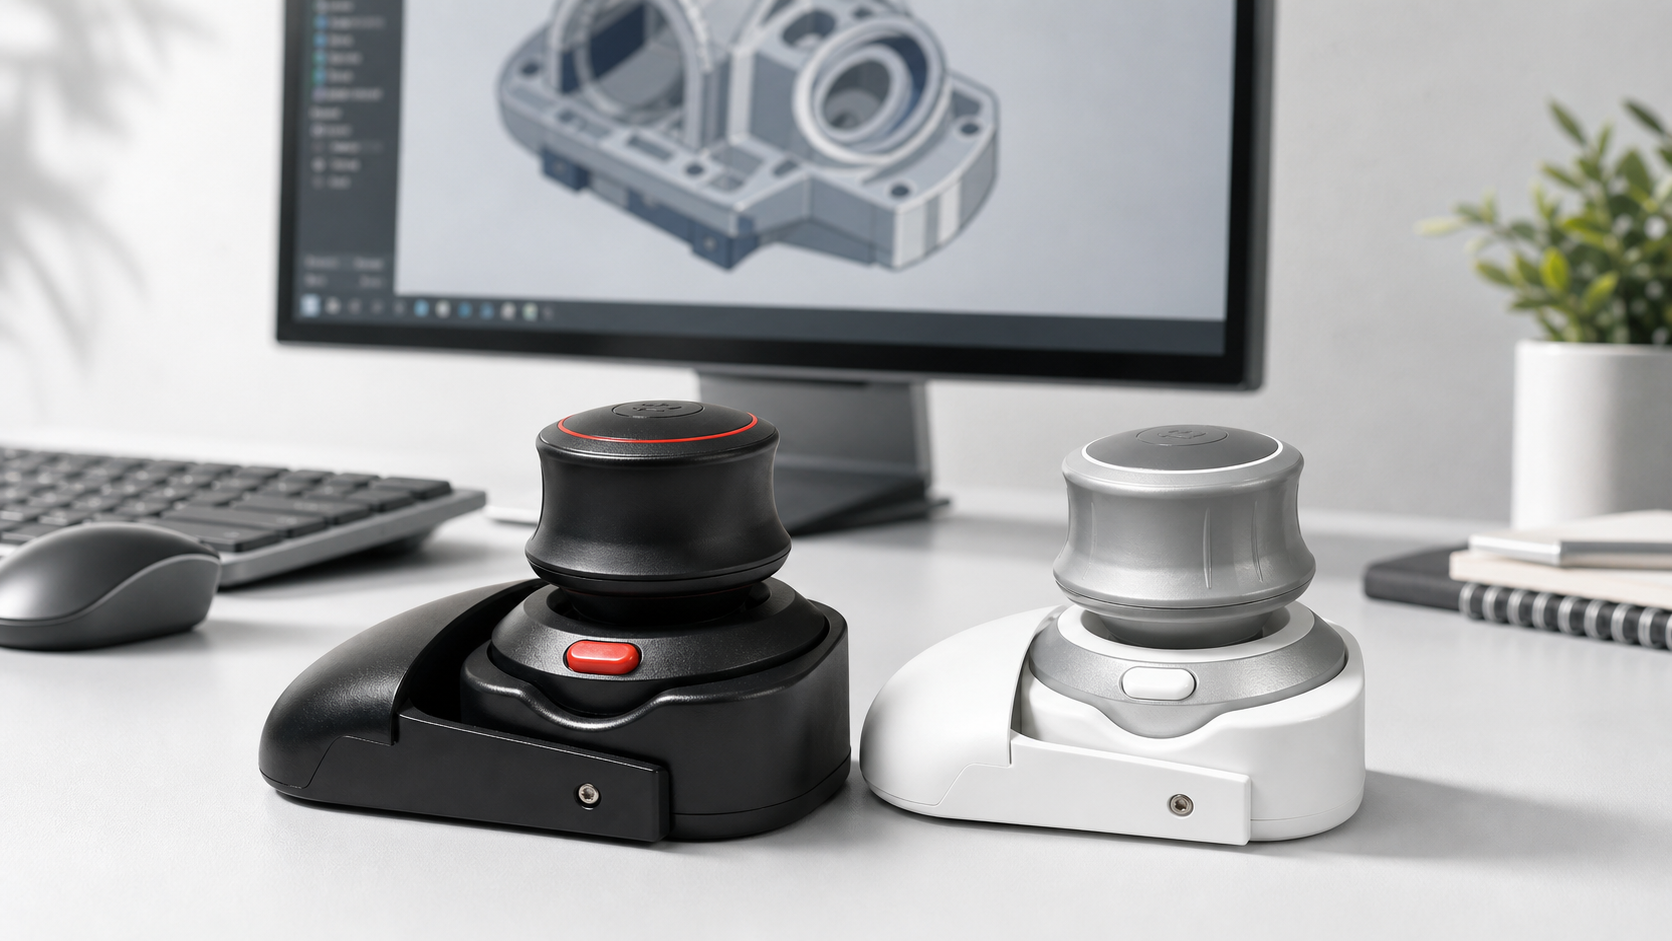
The Wireless 3D CAD Mouse is a compact option for CAD tutors who want cleaner model movement in lessons, demos, and recordings. Test it with your recording software and screen-share setup before using it in paid teaching.
FAQ
Can a 3D mouse improve CAD lessons?
It can improve model navigation clarity when the teacher moves slowly and intentionally.
Is it useful for recorded courses?
Yes, especially for planned walkthroughs and feature explanations.
What should I test before a live class?
Pairing, app focus, sensitivity, screen-share smoothness, and the exact model used in the lesson.
Should students see the device on camera?
Only if it helps the lesson. Usually the important part is clear viewport movement.
Bottom line
For CAD tutors, a 3D mouse is a teaching aid when it makes spatial explanation calmer. Plan the movement, slow it down for viewers, and keep the rest of your teaching workflow intact.